

As homeowners increasingly seek energy-efficient and customizable cooling and heating solutions, ductless mini split systems have emerged as a popular choice. Offering precise temperature control and the ability to cool or heat individual rooms without the need for ductwork, these systems are not only convenient but also cost-saving. This guide will walk you through everything you need to know about installing a ductless mini split system.
Understanding Ductless Mini Splits
Ductless mini split systems consist of two main components: an indoor air-handling unit and an outdoor condenser. They are connected by a conduit containing the power cable, refrigerant tubing, suction tubing, and a condensate drain. This arrangement allows for flexible placement and energy-efficient operation.
Benefits of Ductless Mini Splits
Ductless mini splits offer numerous advantages over traditional HVAC systems. Here are some key benefits:
- Energy Efficiency: With the absence of ducts, these systems eliminate energy losses associated with ductwork, which can account for over 30% of energy consumption in central air systems.
- Zoned Comfort: Ductless systems allow for independent control of air handlers in different rooms, providing personalized comfort.
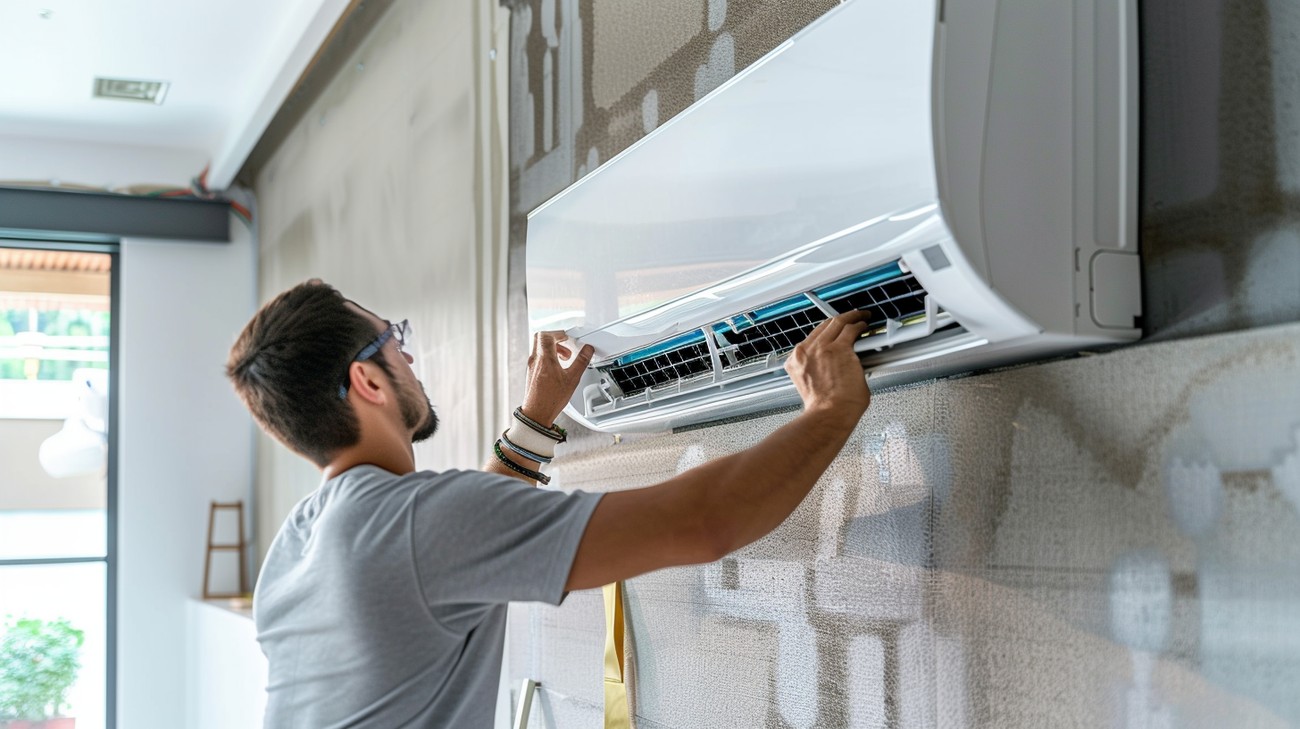
- Easy Installation: Installing a ductless mini split is generally less invasive and quicker compared to traditional systems, as it requires no ductwork.
- Improved Air Quality: Advanced filtration systems trap dust, pollen, and other allergens, enhancing indoor air quality.
- Compact Design: Their unobtrusive design seamlessly blends into most home or office interiors.
Steps to Install a Ductless Mini Split
Planning the Installation
Before installation begins, it's crucial to determine the best location for the indoor and outdoor units.
- Select the Right Spot: Choose a central, unobstructed wall for the indoor unit to ensure optimal airflow. Avoid placing it near heat sources or directly sunshine.
- Outdoor Unit Placement: The outdoor unit should be placed on a stable, elevated platform to avoid dirt and debris. Ensure it's away from heavy foot traffic and has sufficient clearance on all sides.
Ensuring Proper Tools and Materials
Having the right tools and materials is key to a successful installation:
- Drill and Drill Bits: For creating necessary holes in the wall.
- Wrench Set: For securing bolts and connectors.
- Level: Ensures accurate alignment of the indoor unit.
- Refrigerant Line: Connects the indoor and outdoor units.
- Electrical Wiring: Provides power to the units.
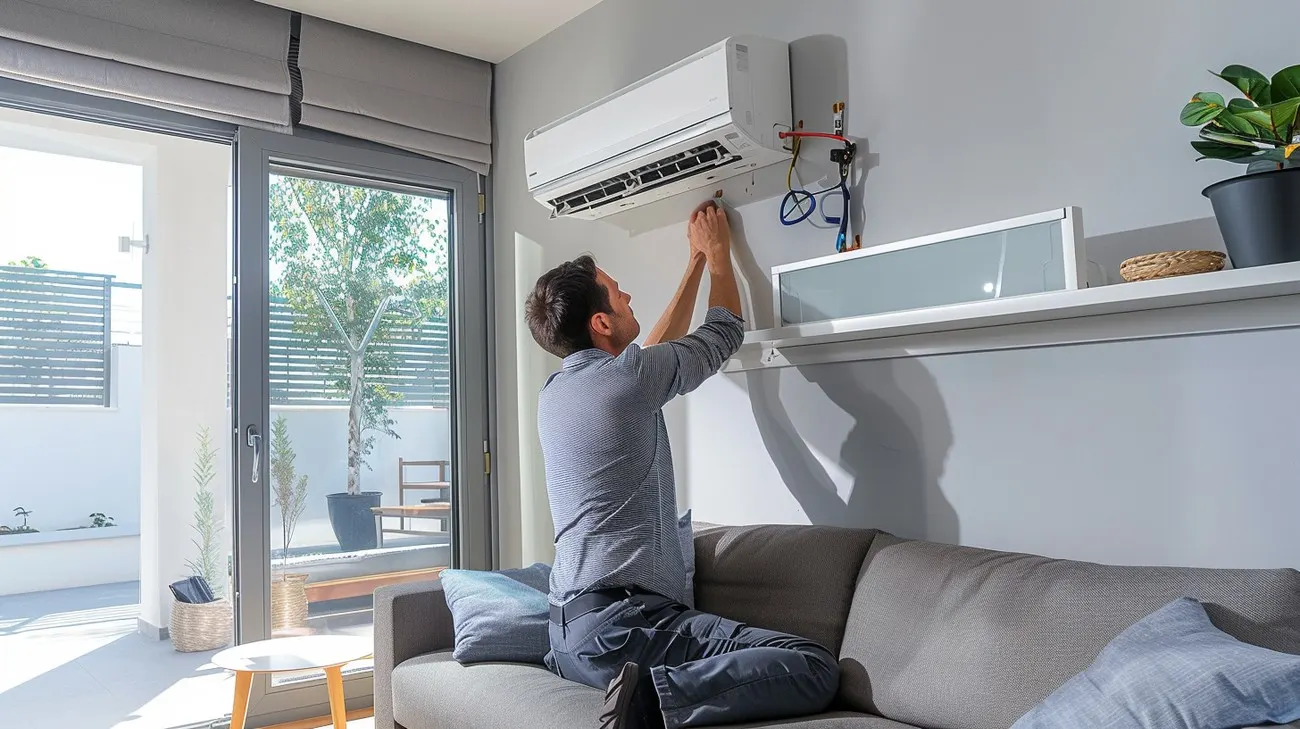
Installing the Indoor Unit
- Mount the Bracket: Use a level to secure the mounting bracket to the wall. Ensure it is sturdy enough to hold the unit.
- Drill a Hole for the Conduit: Create a hole through the wall that aligns with the opening in the indoor unit, making sure it slopes downward slightly to facilitate draining.
- Attach the Indoor Unit: Carefully lock the unit onto the bracket, ensuring it's secure and level.
Installing the Outdoor Unit
- Prepare the Surface: Ensure the surface is solid and level. Use a concrete pad or mounting brackets for elevation.
- Place the Unit: Position the condenser unit, allowing ample space for airflow and maintenance access.
- Connect the Lines: Attach the refrigerant lines, electrical cable, and drain hose to the matching ports, ensuring all connections are tight.
Electrical Work
Performing electrical work safely is paramount:
- Power Supply: Ensure the system is connected to an appropriate power source with the correct voltage. It's advisable to have a dedicated circuit for the unit.
- Wire Connections: Follow the wiring diagram to make accurate connections from the indoor to the outdoor unit. Double-check all wires are properly insulated to prevent short-circuiting.
Testing the System
Once installation is complete, it's time to test the system:
- Vacuum the System: Use a vacuum pump to remove any air and moisture from the lines.
- Check for Leakages: Examine every connection for potential refrigerant leaks.
- Run the System: Turn on the unit and verify that it is operating smoothly. Listen for unusual sounds and ensure temperatures are adjusting correctly.
Maintenance Tips for Longevity
To maintain the efficiency and longevity of your ductless mini split system, adhere to these maintenance tips:
- Regular Cleaning: Clean or replace filters every month to ensure optimal airflow and indoor air quality.
- Inspect Connections: Periodically check all electrical and refrigerant connections to catch and fix any issues early.
- Outdoor Unit Care: Keep the condenser unit free from leaves, grass, and debris to allow for proper ventilation.
Ductless Mini Split Installation FAQ
How does a ductless mini split system work?
A ductless mini split system consists of an outdoor compressor unit and one or more indoor air-handling units. These two parts are connected by refrigerant lines that run through a small hole in the wall, thus eliminating the need for ductwork. The outdoor unit compresses and circulates the refrigerant through the indoor units where heat is absorbed, cooling the indoor air effectively. This setup is efficient because it minimizes energy losses that typically occur in ducted systems. Moreover, mini splits offer individualized room control, enhancing energy savings and comfort.
What are the benefits of installing a ductless mini split system?
Installing a ductless mini split system carries several benefits. First, due to the lack of ducts, there are no energy losses from duct leaks, leading to increased efficiency. It’s also incredibly versatile, perfect for retrofitting homes without existing ductwork, or as an enhancement to serve specific rooms, like basements or attics, where extending ductwork isn’t feasible. Additionally, each indoor unit has its own thermostat, allowing for zoned climate control and energy savings by heating or cooling only occupied rooms.
Can I install a ductless mini split myself, or do I need a professional installer?
While some homeowners choose to install a ductless mini split system themselves to save money, it’s generally recommended to hire a professional installer. This ensures the system is set up correctly for maximum efficiency and longevity. Professional installers have the necessary training and tools to handle the refrigerant safely and to certify the system’s installation meets local codes and regulations. Improper installation can lead to reduced performance and may void the warranty.
What is involved in the ductless mini split installation process?
The installation process for a ductless mini split typically involves placing an indoor unit in the desired location on the wall while mounting the outdoor unit on a flat surface or wall bracket. Installers then drill a small hole through the exterior wall to connect the two units. They’ll run refrigerant lines and electrical wiring through this hole, secure the mounting brackets, and ensure everything is sealed properly to prevent leaks. Once connected, they will test the system to ensure it functions correctly and make necessary adjustments for optimal performance.
How much does a ductless mini split installation cost?
The cost of ductless mini split installation can vary widely depending on the number of units required, the complexity of the installation, and your location. On average, you can expect to pay between $3,000 to $5,000 per zone, including both equipment and labor costs. This cost includes the outdoor unit, one indoor unit, and the materials required for installation. If your home requires multiple indoor units or if additional work is needed to reinforce walls or manage extended piping, the costs may be higher.
How do I know what size of ductless mini split I need for my space?
Determining the right size for a ductless mini split involves calculating the square footage of the area you want to cool or heat and considering factors like insulation quality, climate, and room layout. Generally, manufacturers provide BTU (British Thermal Unit) guidelines to help select the right unit size. For instance, a small room may require a 6,000 BTU unit, while larger spaces could need units upwards of 24,000 BTUs. It’s advisable to consult with a professional installer for an accurate assessment and recommendations tailored to your home’s specific conditions.
Is a permit required for ductless mini split installation?
Permit requirements for ductless mini split installations vary by location. Some jurisdictions demand permits for any significant HVAC upgrades, while others may not require them for ductless systems. Always check with your local building authority or consult your installer to determine the specific requirements for your area. Acquiring the proper permits ensures the work complies with local building codes, and will also help if you plan to sell your home in the future, as many buyers and home inspectors look for permitted work during property transactions.
How long does it take to install a ductless mini split system?
Typically, a single-zone ductless mini split system can be installed in one day. More complex multi-zone systems or installations in larger homes could take two or more days. Factors that may affect installation time include the complexity of the layout, the condition of the existing electrical infrastructure, and ease of access to installation sites. Discussing your installer’s timeline before beginning the project can help you plan effectively and ensure a smooth installation process.
Are ductless mini splits energy efficient?
Yes, ductless mini splits are known for their energy efficiency, largely because they deliver conditioned air directly into a zone without the energy losses associated with ductwork. Since mini splits enable zoned heating and cooling, you gain more control over your home’s climate, avoiding wasted energy on unoccupied rooms. Many ductless mini splits also come with inverter technology, which adjusts the compressor speed to match the cooling demand, leading to further energy savings compared to traditional systems which cycle on and off.
Cost Breakdown
Typical Price Ranges
When considering the installation of a ductless mini-split system, you'll generally find that the prices range from $2,000 to $8,000. This estimate typically includes both the cost of the unit and the professional installation. For a single-zone system, expect to spend on the lower end, around $2,000 to $4,500. On the other hand, multi-zone systems, which are more complex and versatile, can push upwards of $4,500 to $8,000.
Factors That Affect Cost
Several factors can influence the overall cost of installing a ductless mini-split system:
Number of Zones: As previously mentioned, more zones mean a greater expense. Each zone usually requires its indoor unit, adding to both equipment and installation costs.
System Capacity: Measured in BTUs (British Thermal Units), the system's capacity can greatly affect the price. Larger areas require units with higher BTUs, which are typically more expensive.
Brand and Model: Brand reputation and model features (like energy efficiency ratings) can lead to significant price differences. Premium brands with high SEER (Seasonal Energy Efficiency Ratio) ratings often cost more upfront but can save on operating costs over time.
Installation Complexity: Factors like the need for additional electrical work, structural modifications, or long refrigerant line runs can increase labor costs.
Geographic Location: Labor rates vary by region, which can impact installation costs. Urban areas may see higher prices due to increased competition among service providers.
Cost Comparison: Budget vs. Premium Options
Budget Options: Low-cost ductless mini-split systems usually range from $1,500 to $3,500. These may come with standard SEER ratings and limited features. They're ideal for smaller spaces or budget-conscious buyers.
Premium Options: High-end systems can range from $5,000 to $8,000 or more. These often feature higher efficiency ratings, additional smart-home integrations, and longer warranties. They're a smart choice for those looking to optimize long-term energy savings and enjoy a more luxurious experience.
Hidden Costs to Consider
When budgeting for your ductless mini-split installation, keep in mind potential hidden costs:
- Electrical Upgrades: Some homes may require updated electrical panels to support new systems, especially if adding a high-capacity unit or multiple zones.
- Professional Assessment: Hiring a professional for an initial home evaluation can prevent future issues and additional costs, but it might not always be included in the installation fee.
- Maintenance Contracts: Regular maintenance can extend the lifespan of your unit but often comes at an additional cost. It’s worthwhile to factor in these potential annual expenses.
Step-by-Step Guide
Tools/Materials Needed
- Drill and drill bits
- Hole saw (usually 3-4”)
- Screwdriver (Phillips and flathead)
- Level
- Tape measure
- Pipe cutter
- Stud finder
- Wrench set
- Vacuum pump
- Refrigerant gauge set
- Electrical wire and conduit (where necessary)
- Wall bracket or mounting plate
- PVC pipe or conduit for drainage
- Copper refrigerant lines
- HVAC insulation tape
- Mini split system unit
- Safety goggles and gloves
Preparation Steps
Choose Your Location: Decide where the indoor and outdoor units will be placed. The indoor unit should be at least 7 feet above the ground and away from sources of heat or cold. The outdoor unit should be on a stable platform and ideally close to the indoor unit to minimize line length.
Electrical Preparation: Ensure your home’s electrical system can handle the new unit. You might need to add a dedicated circuit, and it’s best to consult with an electrician if you're unsure.
Gather Materials: Make sure all components and tools are on hand before starting. Double-check that you have the correct model and size for your space.
Detailed Instructions
Install the Wall Bracket:
- Use a stud finder to locate the studs in your wall. This ensures your bracket has a solid support.
- Mount the wall bracket or plate using a level to ensure it’s straight. Secure it with screws into the studs.
Create the Hole for the Lines:
- Use a hole saw to drill a hole about 3 inches in diameter through the wall. This hole will accommodate the refrigerant lines, drainage pipe, and electrical cables.
- Angle the hole slightly downward towards the outside to facilitate drainage.
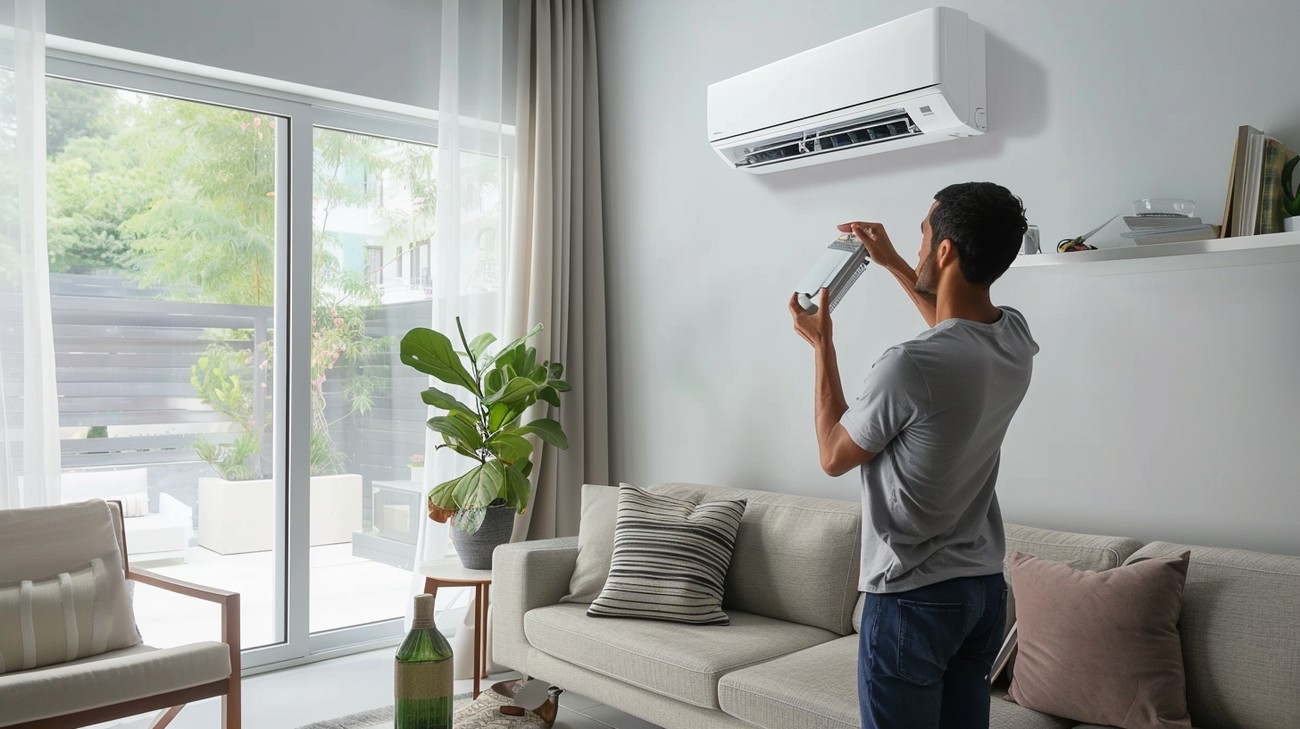
Install the Indoor Unit:
- Align the indoor unit with the wall bracket and snap it into place.
- Ensure that it’s level and secure to avoid operational issues.
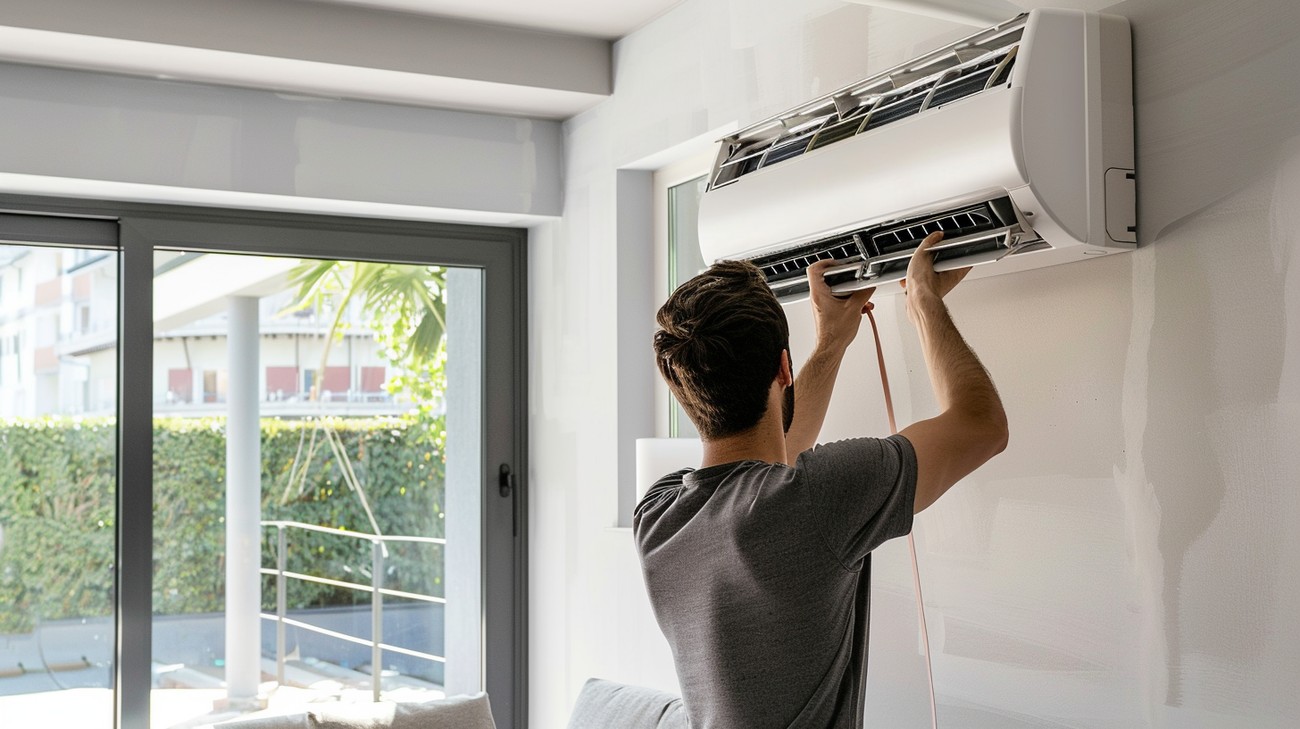
Connect the Lines:
- Run the refrigerant lines, drainage pipe, and electrical cable through the drilled hole.
- Attach the refrigerant lines to the indoor unit, following the manufacturer’s instructions for proper sealing and connection.
Mount the Outdoor Unit:
- Position the outdoor unit on a concrete slab or mounting brackets to ensure stability.
- Connect the refrigerant lines, drainage pipe, and power cable to the corresponding ports on the outdoor unit. Tighten securely with wrenches.
Vacuum the System:
- Once all lines are connected, use a vacuum pump to remove air and moisture from the refrigerant lines. Attach the refrigerant gauge to the service port and ensure the reading is optimal.
Test the System:
- Power on the unit and set to your desired temperature. Check for any leaks using soapy water around connections—bubbles indicate a leak.
- Verify all functions such as cooling, heating, and air distribution work properly.
Tips for Success
- Double-Check Connections: Ensure all connections are tight and sealed to prevent refrigerant leaks.
- Work with a Buddy: Having an extra set of hands can be incredibly helpful, especially when mounting heavy units.
- Follow Safety Protocols: Always wear safety goggles and gloves when using power tools.
What to Do If Something Goes Wrong
- Refrigerant Leak: If you detect a refrigerant leak (bubbles when checking with soapy water), shut off the system immediately. Re-tighten connections and recheck.
- Electrical Issues: If the unit doesn’t power on, double-check your electrical connections and the breaker. Contact an electrician if problems persist.
- Excessive Noise/Vibration: Ensure the unit is level and securely mounted. Re-adjust mounting or padding if necessary.
Final Thoughts
Ductless mini split installation offers an efficient way to keep your home comfortable while enjoying the flexibility of a tailored heating and cooling solution. Whether you're upgrading an older system or installing a new one, it's crucial to consider the size and placement of your units to maximize performance and energy savings. For homeowners in Sacramento, CA, this type of system not only enhances indoor air quality but also complements the diverse architectural styles found throughout the city.
If you're thinking about making the switch to a ductless mini split, we’re here to help you every step of the way. At AirFlow Heating & Air, our team of experts is ready to provide you with personalized service, whether that means answering your questions, helping you choose the right system, or setting up a consultation. Reach out to us today to learn how we can improve your home's comfort and efficiency with a seamless installation process.


